Creating your first switch
In this doc, we'll go through how you can create your first, simple switch. A switch that will return always true or false depending on what you set the Default Value to.
Prerequisite
To create your first switch, first you must ensure you've created at least one environment.
Creating the feature switch
Head to Dashboard, and select Feature Switches. Your default environment will be loaded. The environment doesn't matter, as the switch will be create / duplicated across all environments.
Click create, and you'll be presented with a Create page:
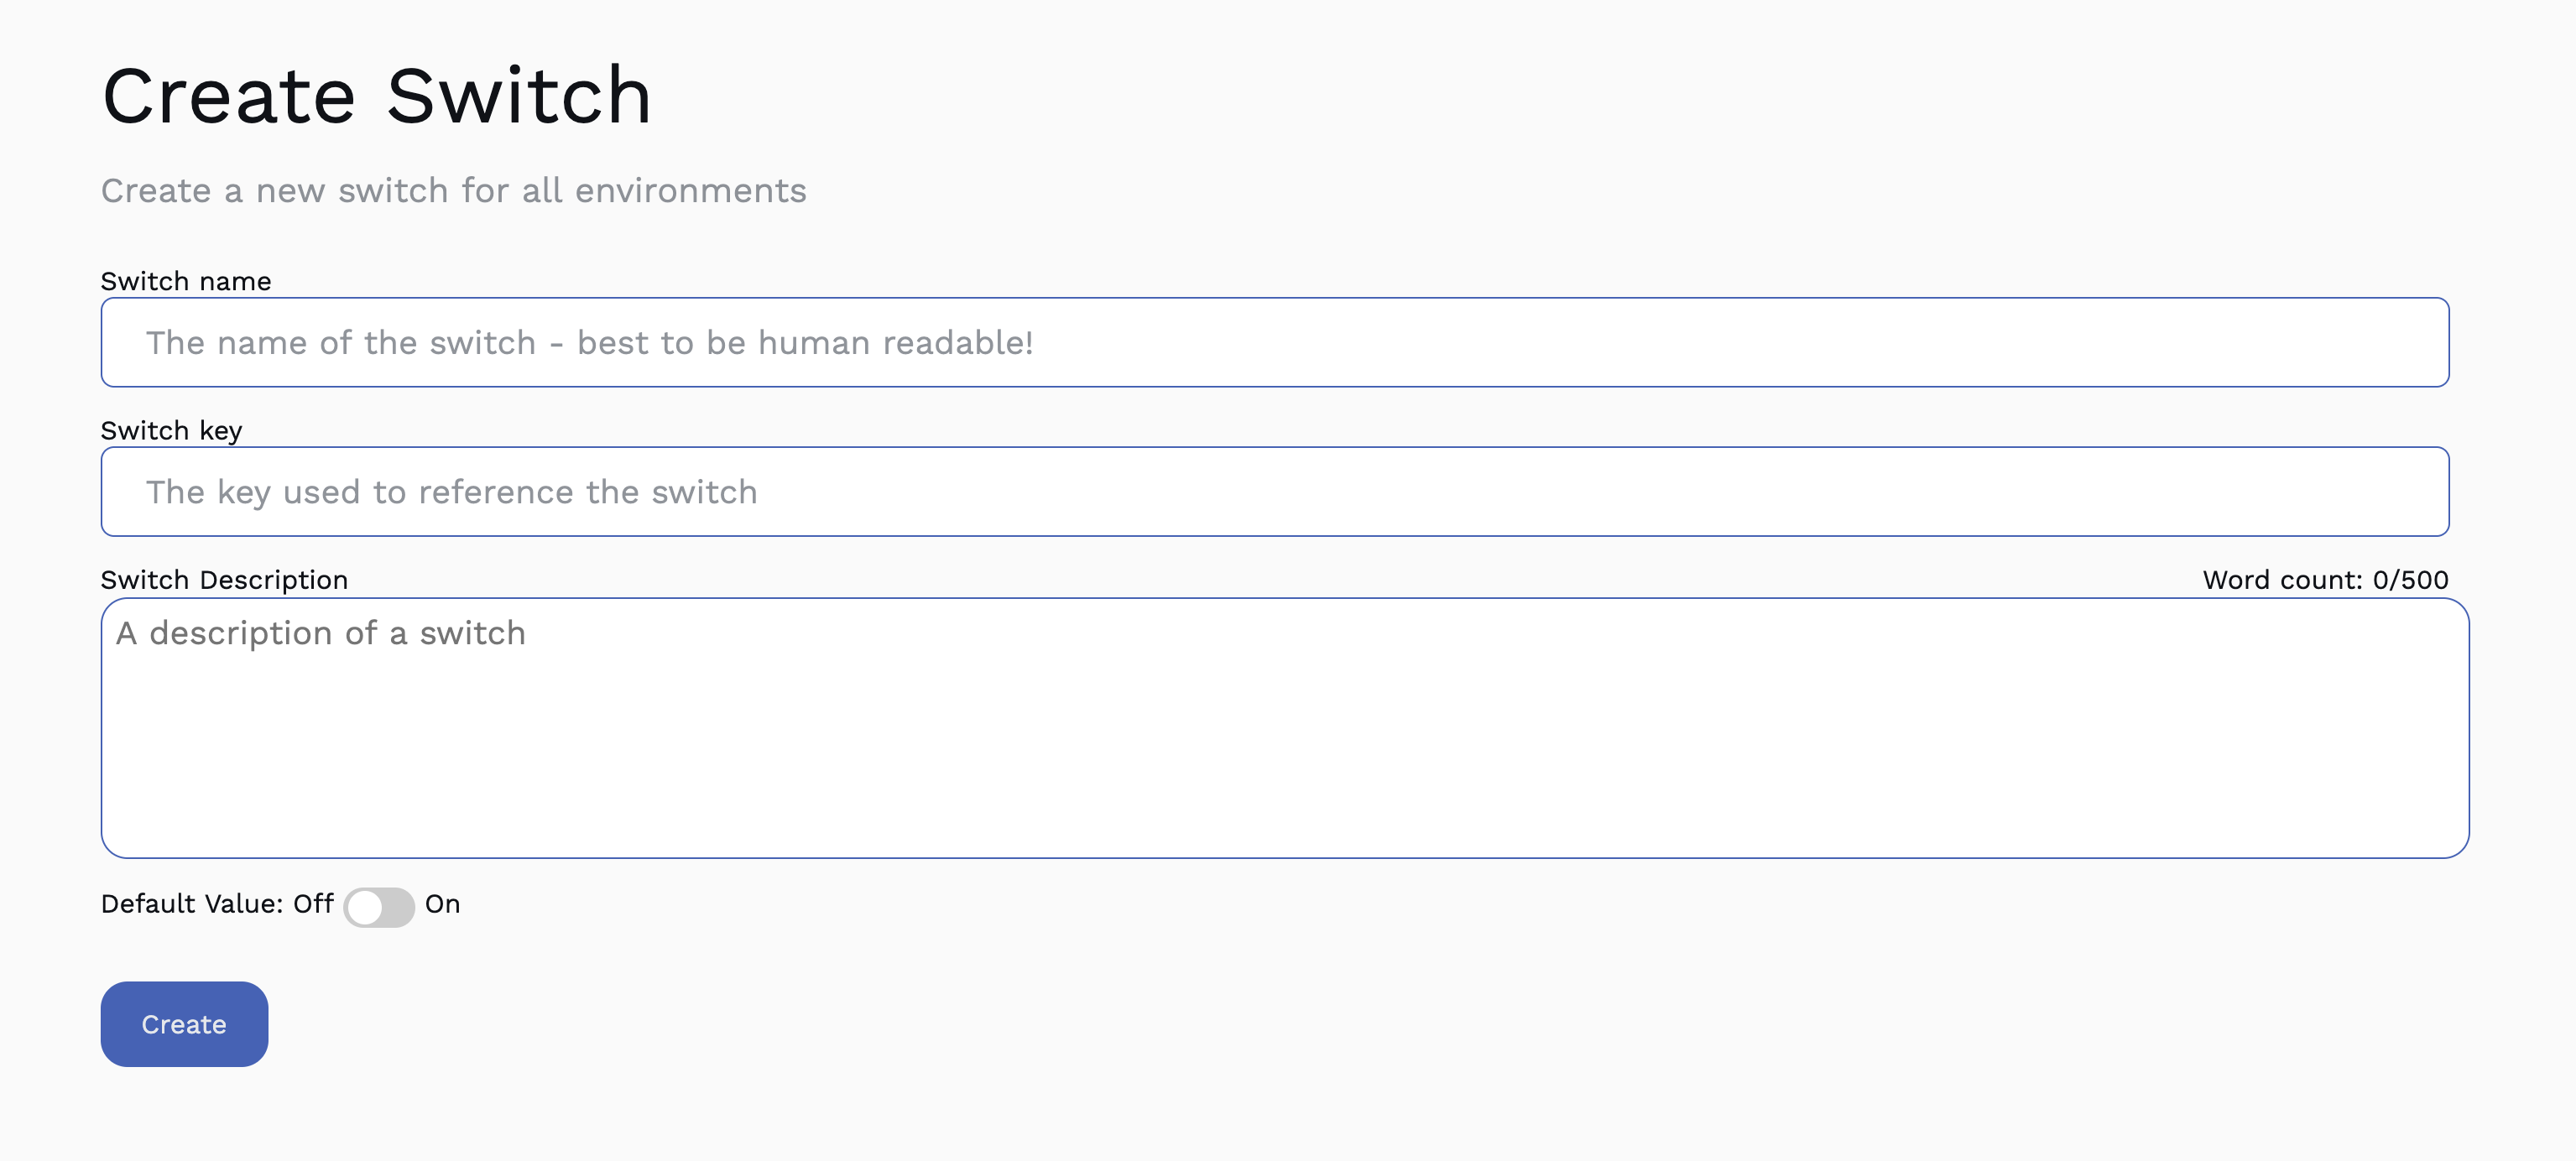
There are then 5 sections that need to be filled out:
- Switch Name: the human readble name for a switch. We tend to go for something like "product name - Enable feature name" e.g. "User Profile Page - Enable profile photo upload".
- Switch Key: this key must be unique, and will be used within your code base. We recommend making it a positive name, so something like "photoUploadEnabled", so in your code it flows better -
if(photoUploadEnabled). This cannot be changed. - Description: a short description of the switch. Purely to help your team understand what this switch is for.
- Default value: A boolean value of the switch.
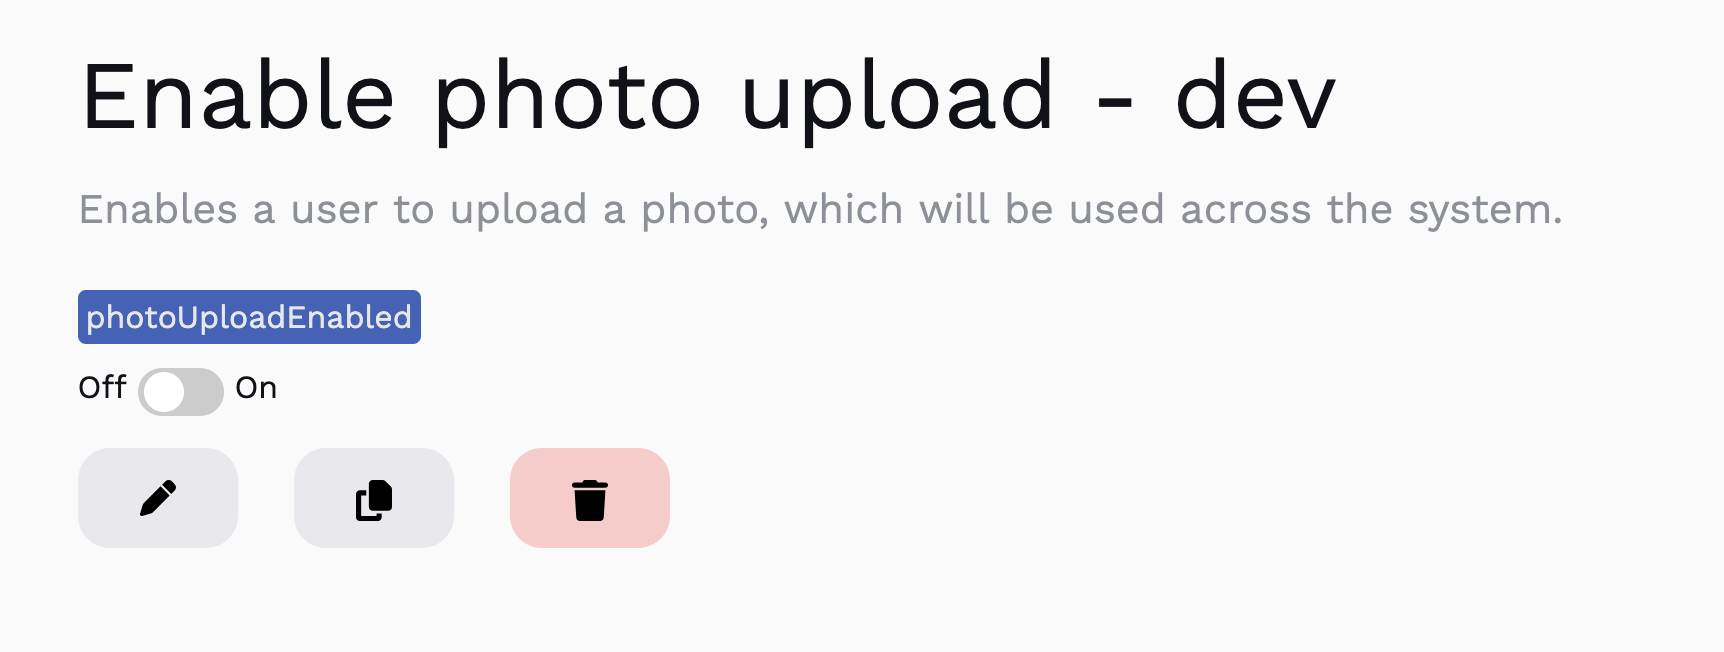
For example, if we were to create a switch around a fake new feature like being able to upload a photo, we'd fill it out like so:
- Setting the Switch Name to "Enable photo upload"
- Setting the Switch Key to
photoUploadEnabled - Setting the Description to "Enables a user to upload a photo", or leave it blank
- Setting the Default value to
false. We'll be changing this later
Hit the save button, and we'll be redirected to the newly created feature switch.
Using it in code - the Backend
Creating an API token
Before you can do anything here, you need to have generated an Api Token.
When you create a token, make sure it has both Read Switch and List Switches enabled and give it a name. For the sake of this tutorial, lets call it "Test Token".
Programatically requesting a switch
There are a number of ways to request your switches value. Check out the SDK section for more specific implementation details for different languages.
Now we've created the switch, we need to reference it in our code:
// Can set whatever environment you have - the switch exists in all of them.
const manager = new FeatureSwitchManager("{your-api-key-here}", "dev");

export const uploadPhoto = async (request) => {

  const result = await manager.getSwitchValue("photoUploadEnabled");

  if(result.value) {
    // Fill in with photo upload code
    console.log("This feature is still in the works, and currently does nothing");
  }
}
As you can see, we've created the manager (create one of these, and reuse it throughout your code), and then used it to get the profilePhotoUploadEnabled switch.
Then, if that switch returns true, we then handle the upload. If it's set to false, it does nothing.
We can now "ship" this code, as the switch is false for every user.
Once we're happy with the code, we can set it to true, and it'll become available to everyone!
And that's it! You've created your first feature switch.
While a simple "binary" switch can be useful this just scratches the surface of what you can do with Feature Switches. Check out Advance Usage to find out more.